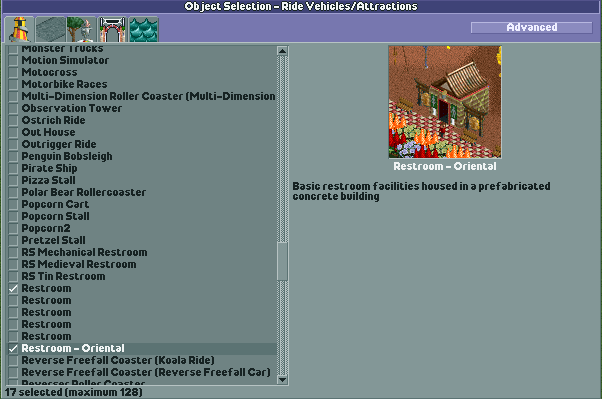
Warning: This program is not user friendly. If you are unfamiliar with Dr. J's Object Editor or Henry's DAT Maker program, do not attempt to use this program. You could seriously mess up your copy of Rollercoaster Tycoon Two. Neither Mike Young nor Interactivities Ink take responsibility for incorrect use of this program.
If, when following these instructions, you have a question, STOP. Do not continue. Ask your question in the forums of RCT2.Com. I check there regularly and will update these directions to make them clearer.
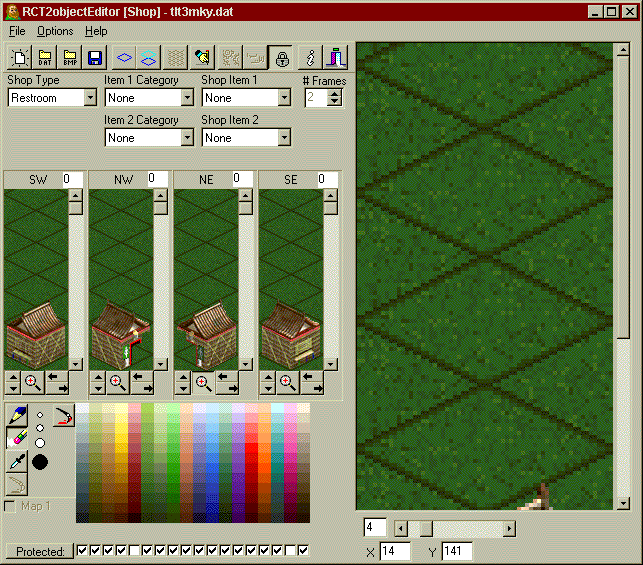
Use Dr. J's Object Editor to create your shop or restroom. Save that object it its own folder that is not your objdata folder. We will call that folder your "shopfolder."
Place your new shop/restroom in your objdata folder and create a small scenario using it, decorating it as desired.
Take a screen shot of your shop or restroom.
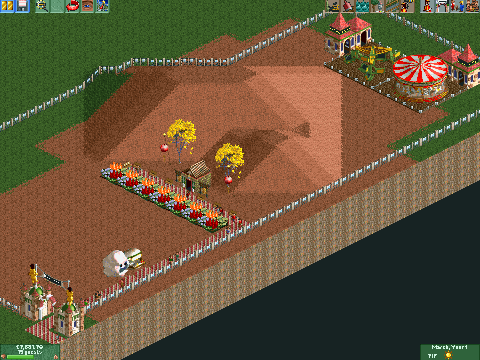
Using an image editing program, such as Photoshop, crop your screen to exactly 112 x 112 pixels. Save the cropped screen in your shopfolder as pic0.bmp. It must be a 256 color bmp (that's 8-bit, not 16 or 24) called pic0.bmp or it won't work. As long as you don't change the color depth, the colors should be right. You may want to make sure that it has the correct palette. The ride maker does not check for palette and the wrong palette will cause problems.
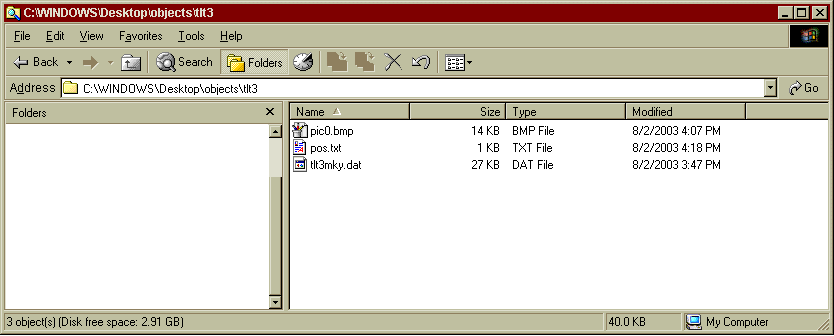
Using notepad or another text editor, create a text file called pos.txt in your shopfolder. It only needs one line that reads 0,0. You can just use this one instead. You should now have three files in your folder: the dat file of your shop/restroom, the screen shot that will become your preview image, and the pos.txt file.
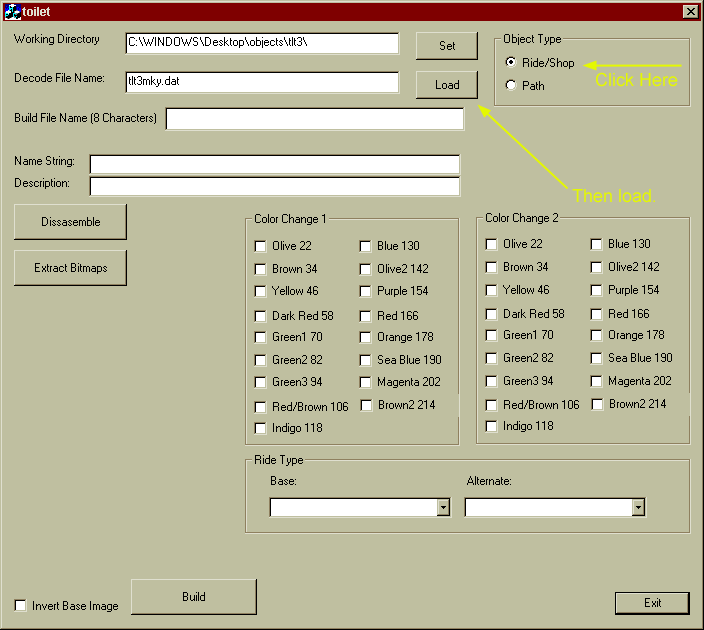
Now you can run the ridemaker.exe program. Select Ride/Shop, then click the "Load" button. Find your shop/restroom dat file and select it.
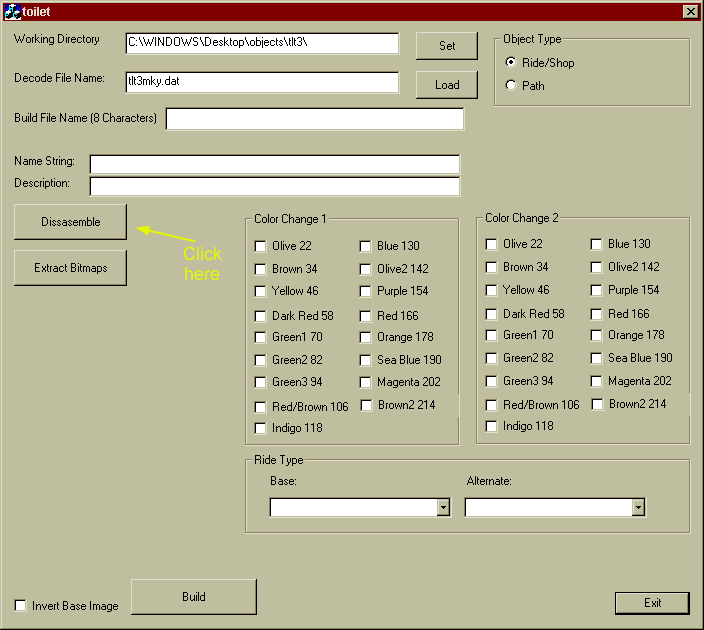
You need decode the dat file. Click the Disassemble button. It will say "Finished" in the "Decode File name" when done.
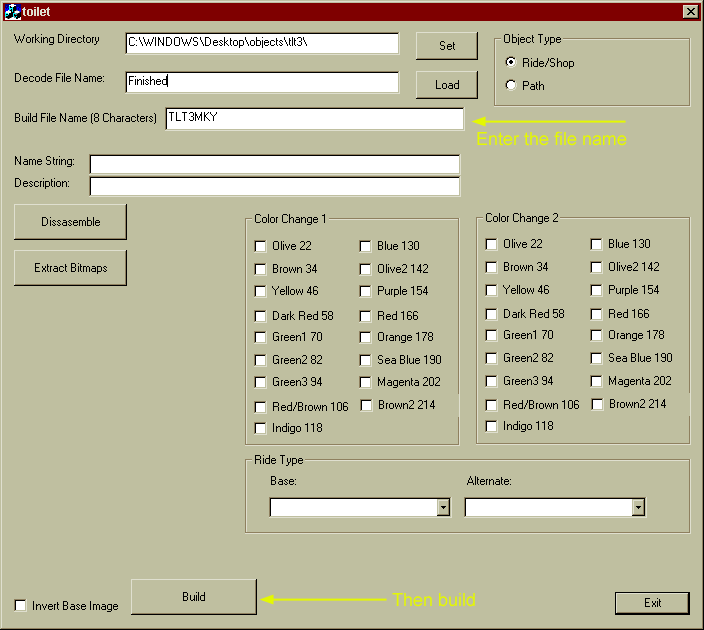
You can now build the new dat file. Type the file name of your dat file (without the .dat) in the "Build File Name" box and then click "Build".
Copy the new dat file to your objdata folder. Enjoy your new shop/restroom. You can download the sample restroom used in this lesson here.
